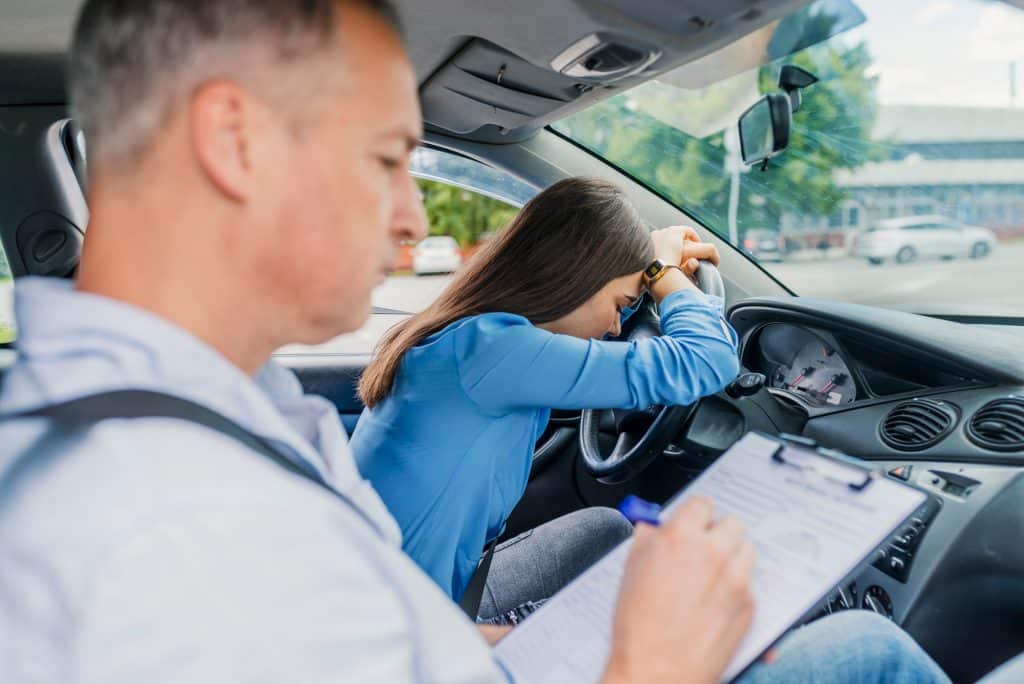
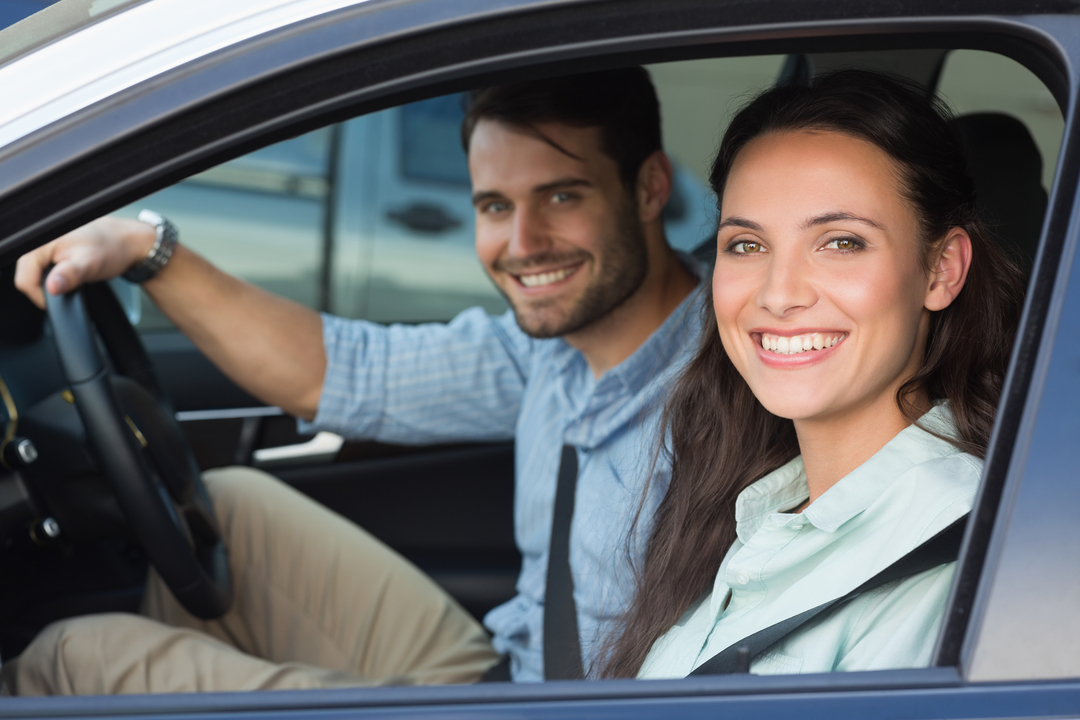
Reaching the final driving test after completing driving school can be a nerve-wracking experience for many students. Despite hours of training and driving practice, failing the driving test can come as an unpleasant surprise. Understanding the reasons behind failure can provide valuable insights for the next assessment, enabling better control over the situation the next time around. Let’s explore some common reasons why people fail their driving test.
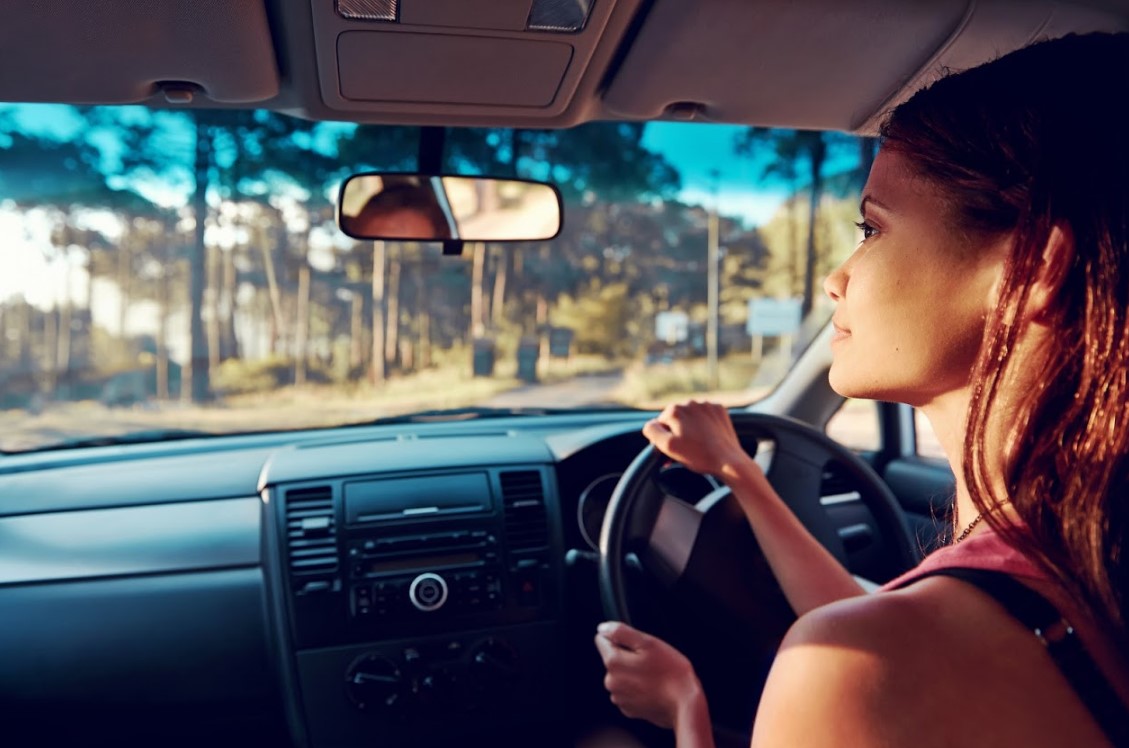
Once you have your licence, you have the keys to freedom and it’s time to head off on your first road trip. Exciting times. You’ve packed your bags but what about your car? What should you check to prepare for your trip?
1. Tyre pressures The most common problem that you are likely to have when you head out on a road trip is a flat tyre. A couple of days before you go, check the tyre pressures with a reliable gauge and fill to the pressure recommended in the owner’s manual or tyre placard on the vehicle. If you find that one tyre is lower than the others, have it inspected for a leak before setting off. Don’t forget to check the spare tyre too. There is nothing worse than changing a tyre by the side of the freeway only to find that there is no air in the tyre you just fitted!
2. Tools and Jack Make sure that you know where the tools and the jack for the car are. If you have never changed a wheel, it is probably a good idea to have a go at jacking the vehicle up and removing a wheel before you head off. By doing this you can test and confirm that all the tools you will need are with the car and in working order.
3. Fluid Levels Depending on how old your car is, you should check the fluid levels. Use the owner’s manual to identify where the following fluids can be checked: Engine oil Transmission oil Coolant Brake/clutch fluid Power steering oil Windscreen washer water If you find any fluids are low, top up the fluid and have a mechanic check for leaks.
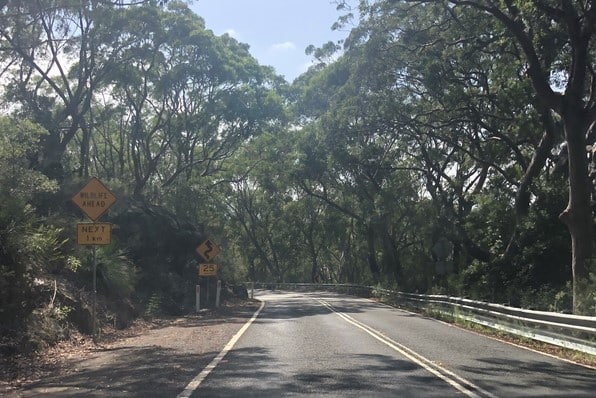
4. Lights Often on a road trip some of your driving may be at night. On the freeway or on country roads there are no street lights. You will need rely on the quality of your headlights. Make sure that your headlights are working on both high and low beam and also check that the lights aim where you want them. While you are at it, check all the other lights on the vehicle, they will help you to be seen!
5. Carry Water and Food It is good practice to carry some water and food with you out on the road. The amounts will vary depending on how remote you are heading. 10L of water and some food is good to have with you. The water can be used for hydration if you are stranded or can be used to top up overheating cooling systems to get you a bit further down the road.
6. Fuel Lastly, make sure that you have enough fuel for the trip. If there is an accident or a natural hazard like a flood or bushfire, you may have to take a detour. If you only have enough fuel to get you to your endpoint, you may end up stranded on the side of the road.
1. Not keeping an appropriate gap The most common type of accident in NSW is a rear-end collision. Rear end accidents account for 28% of all reported accidents making this our number 1 driving fail! The most common cause of rear-end accidents is not keeping an appropriate gap. 2. Distractions A rapidly rising cause of accidents is distraction, with smart phones taking priority over what is happening on the road. You might get away with it once, but soon enough your number will come up. 3. Driving in the right-hand lane We refer to the right-hand lane as the ‘head-on collision lane’. It only takes a tiny error by an oncoming driver for a head-on collision to occur. Head-on collisions account for 30% of fatalities on NSW roads. 4. Late decisions The late decision maker likes to keep us all guessing as to their next move. They brake late and try to squeeze into turning lanes that they did not realise were coming up. Late decision makers do not have the time to consider other traffic when they make moves and are difficult to predict . 5. Not indicating There are some drivers out there that think that indicators are there to be used because the road rules say so. The reality is that indicators are there to communicate with other road users. Nothing more frustrating than the driver that gives their indicator half a flash just after they have changed lanes. 6. Trusting a green light Green means go right? Well did you know that 16% of crashes happen at controlled intersections? Just because we have the right of way does not mean everyone else will give way. Make sure you are safe before entering an intersection or you are committing one of our top 6 driving fails.
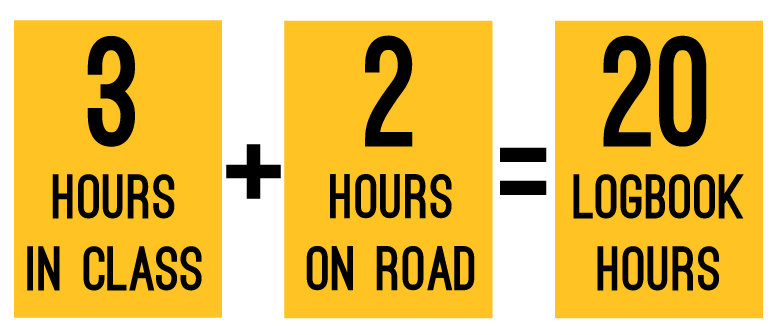
Are you looking for logbook hours? Complete the Safer Drivers Course and get 20 logbook hours. Book today
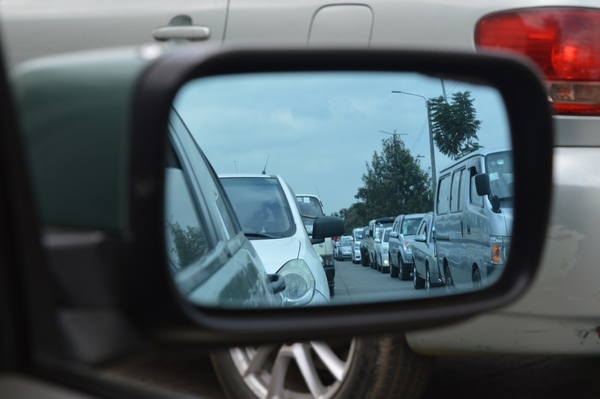
At most crashes one of the drivers will get out of their car and say, “He came from nowhere” or “I didn’t see her”. If you aim to be seen you will reduce your likelihood of being involved in an accident.
Have you ever considered why so many people crash into each other? The majority of crashes happen because the driver does not have enough space around them. The space around the car is what Trent driver trainers call the Safety Cushion. By maintaining space around your car you will allow time to react, manoeuvre and stop if required. You need to guard this space!
How do you know if you have enough space around your car? Ideally, you need 2 metres between you and parked cars and about 1 metre between an oncoming vehicle. On narrow roads, this might be difficult to maintain so you need to slow down. The basic rule is: Space reduced = Speed reduced As space increases, you can speed up again. Early learner drivers naturally slow down because they feel the need to ‘suck in’ when they go through narrow spaces. As drivers get more experienced and are more comfortable around other vehicles, they start to go faster. The problem is that every time you double your speed, your stopping distance is multiplied by 4. Be aware of driving in the blind spots of other road users and avoid having cars right next to you. In multi-lane traffic, you need to be conscious of your safety cushion to oncoming vehicles. The right-hand lane is the head-on collision lane and should only be used when overtaking or turning right. It only takes a moment distraction by someone coming the other way for a head on collision. Don’t be there! As safe drivers we should be thinking “Is there a person about to step out behind that van?” or “Is someone about to pull out from the kerb in front of me?”
How do I protect my Safety Cushion?
At higher speeds, you need to think about the space between you and the vehicles in front, behind and to the sides. This is where the 3-SECOND GAP applies.
Drivers should always maintain a 3-second gap to the vehicle in front.
To calculate a 3-second gap, watch as the car in front goes past a stationary object and start counting: 1001, 1002, 1003. If you pass the object before saying 1003, you are too close.
Often the vehicle behind will not maintain a 3-second gap to your vehicle (if they are really aggressive, just get out of their way).
The 3-second gap works at all speeds
How do I know if I am good at applying the safety cushion? When you have mastered the safety cushion you will:
Find yourself adjusting your position inside your lane to maximise your safety cushion where ever required.
Always have a 3-second gap or greater.
You will actively avoid driving next to other vehicles and get out of the way of aggressive drivers.
You will feel uncomfortable in the head on collision lane.
If this is you then great work! You are much more likely to be safe on our roads.
——————————
The Safer Drivers Course is designed for learner drivers wanting to learn more about becoming a safe driver. The course will help you gain a better understanding about what it takes to be a safe solo driver. Through both in-class activities and on-road coaching, the Safer Drivers Course will help you to be safe long after the driving test. The course is fun, engaging and informative.
You will need to do kerbside stops in the driving test. This often overlooked skill is essential to gaining a licence. Often it will be done on an uphill grade, especially for manual learners. You will also need to perform the same manoeuvre as part of a reverse park or three-point-turn. Getting the kerbside stop wrong will make it difficult to pass your driving test. Getting the kerbside stop wrong will make it difficult to pass your driving test.
Where can I do a kerbside stop?
When practicing kerbside stops, you will need to consider the road and surrounding area. Start on a quiet road so you have plenty of time. You cannot park across a driveway, in a clearway or a bus zone. All parking signs need to be checked to ensure that you are parking in the appropriate place for the length of stay. An often forgotten parking rule is that you need to leave at least three metres from any double unbroken center line to leave enough space for cars to go past.
How to do a kerbside stop?
To master kerbside stops, you will need to be proficient in the use of:
Accelerator and brakes
The gears
The clutch
Starting and stopping the car
Hand-over-hand steering technique
Vision
Safety cushion
Blind spots
When practicing your kerbside stop, find a suitable place to pull into the kerb; be aware of all the traffic and pedestrian activity around the vehicle. Once a good spot has been found you can start to drive towards kerb. The aim is to be 20-40cm from the kerb once you have stopped, with the wheels parallel to the kerb. If you are parking behind another vehicle, leave about a metre gap. TIP: If you are having trouble judging the size of your vehicle, a transit line can be set up from your eye through to a point on the windscreen or bonnet to the kerb. This will help you repeat your position. LTRENT Driver Trainers can teach you this trick if you are unsure. When the vehicle is parked, apply the park brake, select park in auto vehicles or first gear in a manual.
When you are leaving the kerb, the first step is to get the vehicle ready to go. Start the motor and select drive or 1st gear. Make sure that there is enough room for you to the clear the car in front of you. Reverse a little bit if you need more space. Check the mirrors to find a space to pull out into. Signal your intention to other road users with your indicator. The indicator needs to be on for five seconds before pulling out. Just before you leave the kerb, check your blind spot in the direction that you are moving. There could be a car pulling out of a driveway that you cannot see in your mirrors. If your blind spot check comes back clear then you can leave the kerb.
How do will you know when you are an expert at the kerbside stop?
At the highest level, you should be able to pull into a space that is about 2 car lengths long and be parallel first go in a busy traffic situation. You will also be able to pick and take an appropriate gap in busy traffic up a hill with cars parked either side of us. More on manoeuvres: ANGLE PARK
Angle parking is not often in the driving test. This does not mean that you won’t have to do an angle park in the test. Often the driving test starts or ends in angle parking.
Aside from the test, you are going to need it in real life. Just like reverse parking, angle parking is a skill that most drivers just do. Before we can perform an angle park, we need to be proficient in the use of:
Accelerator and brakes
The gears
The clutch
Starting and stopping the car
Hand over hand steering technique
Blind spots
To and from the kerb
Slow moving forward
Up hill starts
Down hill starts
Reversing
Slow speed control
Road signs and markings
In addition to the above skills we need to have a really good feel for the size of the car. When we are performing an angle park we need to be uncomfortably close to other vehicles to succeed.
Where to do an angle park
Angle parks are found in all shopping centres, shopping strips and most car parks. They can be 90º, 60º or 45º.
How to an angle park
When we are doing an angle park we need to keep the vehicle moving slowly and smoothly and turn the steering quickly.
Firstly we pull up a little bit past the parking spot that we want to park in, about a meter out from the cars we are parking next to.
As we reverse back we need to find the spot to start turning into the parking spot. In most cars it is when the rear wheel is in line with the first corner of the car you are parking around (for 90º).
We need to adjust the starting point to for 60º and 45º parks. At this point we start to turn into the parking space, this will feel too close! As we are moving into the parking spot check your mirrors to evaluate your position in relation to the other cars. If you can see a gap between the bumper of the car you are parking around and the side of your car then we are OK.
Once the rear wheels are past the car we are parking around we need to move our focus to the car on the other side of the car spot and the lines. If we can see more of the car next to us coming into view then we are clearing it, if the view in our mirror is not changing then we might be on a collision course, stop!
As we are starting to line up with the lines we need to start straightening the wheels and reverse back in a straight line parallel to the parking lines. When we are far enough into the spot we can stop.
When we are leaving the spot make sure to move out in a straight line for at least half a car length before turning the wheels.
Driving in forwards is pretty straightforward, just make sure that you use a wide arc to enter the spot so that you are going straight as you are entering the spot. If you are reversing out of a spot make sure that you go almost fully out before turning the wheel so that you avoid bumping other cars and posts.
How do we know that we are expert?
The toughest situations for angle parking are when there is lots of traffic, say the week before Christmas at the central shopping centre. You only have one spot available, it is narrow due to the large 4wd vehicles parked either side. If we can do this first go (and leave enough space to exit the vehicle) then we are winning!
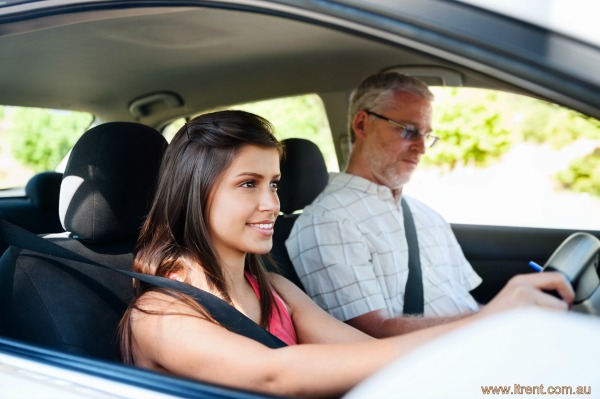
The Aim of the Test Learner drivers usually hear stories from their friends on what the driving test is going to be like and advice about what to do. Some of this is true, most is not. During the driving test, the learner driver’s aim is to make the testing officer feel comfortable, that is, they feel safe in the car with you. Setting off in a controlled manner and driving confidently right from the outset will make the testing officer more relaxed. Generally, if the testing officer is chatting with the learner driver, this is a sign that they feel confident. If they are using the grab handles then they might not be feeling so comfortable!
Appearance Counts The test starts before the learner driver gets into the car. The learner driver wants to make a good first impression to the testing officer. Follow these points:
Don’t be late
Be neat and tidy
Smile
Have all paperwork sorted out and neat (look after your logbook)
Have a clean car parked in the correct location
Know how to operate the indicators and brake lights without the engine running
How to drive during the test We have heard from some students that they have been advised to drive 15 km/h below the speed limit. This is not a good idea, it will make the testing officer question the learner driver’s ability. It is best to drive with the flow traffic up to the speed limit unless there is reduced space or vision, then slow down as required. You may hear stories that everyone fails for head checks or blind spots. While this is often true, the solution is not to look like a laughing clown at Luna Park while driving. You need to understand what you are looking at, then you can check the appropriate blind spot, the traffic and do observation checks for the situations presented. Testing officers are onto people who are looking just for show and will be really picky about observation errors for these applicants. Learner drivers need to make safe decisions. We have all been in the situation of waiting to do a right-hand turn onto a busy road waiting for a gap (high risk of accident). This will be on the test too. You cannot be swayed by the aggressive driver four cars back honking the horn. If there isn’t an appropriate gap, then wait till one comes along. The testing officer would prefer the driver to wait for a safe gap than have a go at a gap that is not big enough. Remaining calm in this situation will show the testing officer maturity in your driving. Sometimes things go wrong on the driving test. The car might be stalled or your reverse parking may be botched. Remember these two things – the testing officer is human, they might not have noticed the mistake and it is OK to make a couple of errors, often they are not marked as harshly as you might think. It is most important the learner driver does not give up after the first mistake. Just take a deep breath, relax the grip on the wheel and carry on.
Getting Results Thanking the testing officer regardless of the result will put them in a better mood for the next applicant! If you are not successful on their first attempt, don’t argue with the testing officer about the result. There is every chance that you will end up with the same testing officer in the next attempt. That will make for a very quiet drive…