November 2016 | LTrent

How to Prepare Your Car for a Road Trip

Royal National Park - Open Road

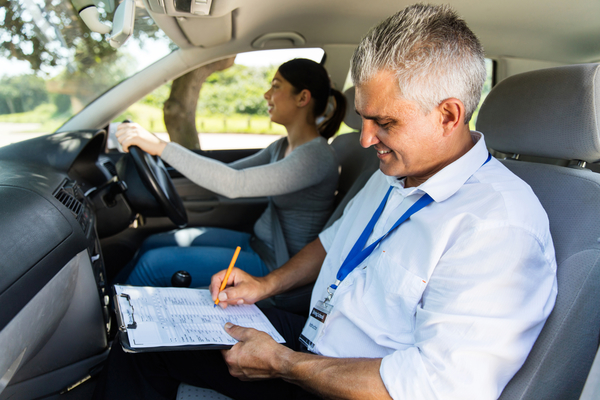
Once you have your licence, you have the keys to freedom and it’s time to head off on your first road trip. Exciting times. You’ve packed your bags but what about your car?
What should you check to prepare for your trip?

1. Tyre pressures
The most common problem that you are likely to have when you head out on a road trip is a flat tyre. A couple of days before you go, check the tyre pressures with a reliable gauge and fill to the pressure recommended in the owner’s manual or tyre placard on the vehicle. If you find that one tyre is lower than the others, have it inspected for a leak before setting off. Don’t forget to check the spare tyre too. There is nothing worse than changing a tyre by the side of the freeway only to find that there is no air in the tyre you just fitted!

2. Tools and Jack
Make sure that you know where the tools and the jack for the car are. If you have never changed a wheel, it is probably a good idea to have a go at jacking the vehicle up and removing a wheel before you head off. By doing this you can test and confirm that all the tools you will need are with the car and in working order.

3. Fluid Levels
Depending on how old your car is, you should check the fluid levels. Use the owner’s manual to identify where the following fluids can be checked:
Engine oil
Transmission oil
Coolant
Brake/clutch fluid
Power steering oil
Windscreen washer water
If you find any fluids are low, top up the fluid and have a mechanic check for leaks.

4. Lights
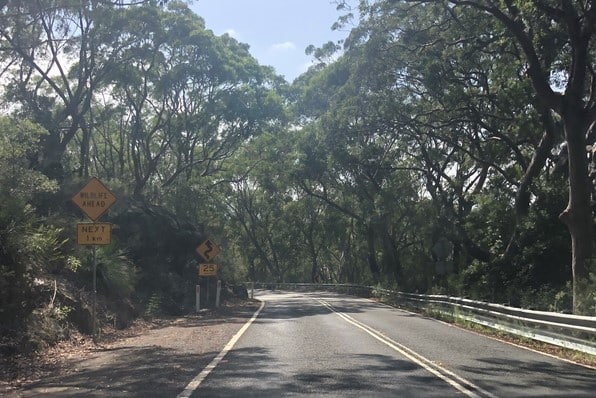
Often on a road trip some of your driving may be at night. On the freeway or on country roads there are no street lights. You will need rely on the quality of your headlights. Make sure that your headlights are working on both high and low beam and also check that the lights aim where you want them. While you are at it, check all the other lights on the vehicle, they will help you to be seen!

5. Carry Water and Food
It is good practice to carry some water and food with you out on the road. The amounts will vary depending on how remote you are heading. 10L of water and some food is good to have with you. The water can be used for hydration if you are stranded or can be used to top up overheating cooling systems to get you a bit further down the road.

6. Fuel
Lastly, make sure that you have enough fuel for the trip. If there is an accident or a natural hazard like a flood or bushfire, you may have to take a detour. If you only have enough fuel to get you to your endpoint, you may end up stranded on the side of the road.

The Three Tests on Test Day

Did you know that there are three different tests on the day you attempt to get your P’s?
Most people focus on the driving component but there are two other tests before you leave the kerb.
The first part of your test will see your logbook scrutinised.
search-1013910_640

To be able to sit the driving test you need to have 120 hours of logged driving with a minimum of 20 hours logged at night.
The examiner will look thoroughly through your logbook to ensure that all the pages add properly together, there actually is 120 hours and the night hours were logged after sunset or before sunrise.
A logbook entry from 6:00pm – 7:00pm in early December is not night driving.
The testing officer will check to see that the front section of the logbook has been signed off by your supervising driver and the declaration on the last page is signed.
Finally, they will ensure that any bonus hours from the Safer Drivers Course or the 3 for 1 Program are correctly entered by a registered driving school.

If the logbook passes the test, then it is out to the car.
mercedes-benz-1370536_640
Before you drive, the testing officer will ensure that the car you use for the test is roadworthy.
They will want to see that there is plenty of tread on the tyres, all lights and indicators are working, that there is no significant damage and the car is registered.  
If the car passes the test, then you will start the driving component of test day.
Webp.net-resizeimage (58)
In order to get your P’s you will need:

  • An accurate and complete logbook
  • A suitable and roadworthy car
  • To drive to test standard

To find more information on the driving component of the driving test, check out this link: https://www.ltrent.com.au/blog/whats-in-a-driving-test/
If you would like to take advantage of the Trent Test Day Concierge service and use one of our modern cars, book via this link: https://www.ltrent.com.au/lesson-packages-and-vouchers/driving-test-success

Do I really have to indicate out of a roundabout?

Webp.net-resizeimage (89)

Yes…if practicable

The road rules state:
You must indicate for long enough to give sufficient warning to other drivers and pedestrians before entering a roundabout when turning left or right. You must also indicate, if practicable, on exit when going straight ahead. That way, people around you know exactly where you’re headed.
Doesn’t really offer much help does it?

So, when is practicable?

If you’re a learner driver and thinking about passing a driving test, then it’s practicable at every single roundabout.

There are two reasons for this:

The driving test

Firstly, you will be sitting a test where the examiner decides if you should have used an indicator to exit a roundabout. You don’t want to find that out that you got it wrong after the test. If you indicate on every roundabout you won’t be failed for signal errors.
If you find it difficult to signal out of a roundabout, particularly small ones, then it could be a technical issue. Turning right at a roundabout with too much speed or having an incorrect steering technique can make it difficult to use an exit indicator.

The power of habit

Driving is a practical skill and to be good at it, you need to build habits. When you are learning and practicing roundabouts, build a habit out of signalling out of every roundabout. This way you don’t have to decide when is practicable.
This rule about exiting roundabouts isn’t new, however, you won’t see many drivers applying it!

Check out our video below to see how it’s done:
Exit Straight